How can I add a section to a report? I’m dragging the object onto the report pane and it isn’t working.
To add a new section to an existing report, you must be in Design mode.
- Right-click above the table or crosstab you’d like to section.
- Pick Insert, and then Section from the drop-down menu.
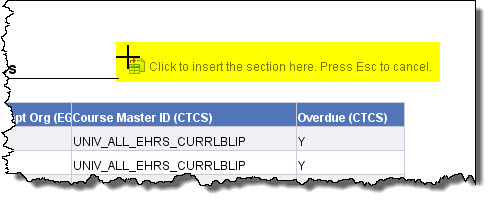
- Your cursor changes to have the message: Click to insert the section here. Press Esc to cancel.
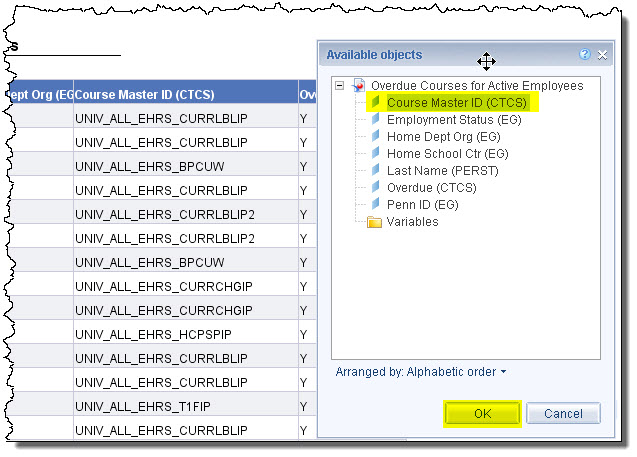
- Click on the appropriate location and the Available objects box opens.
- Select the dimension by which you’d like to section the data and click OK.
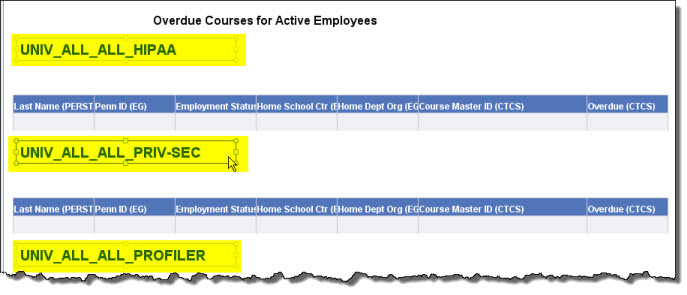
- The report is now sectioned on that dimension.
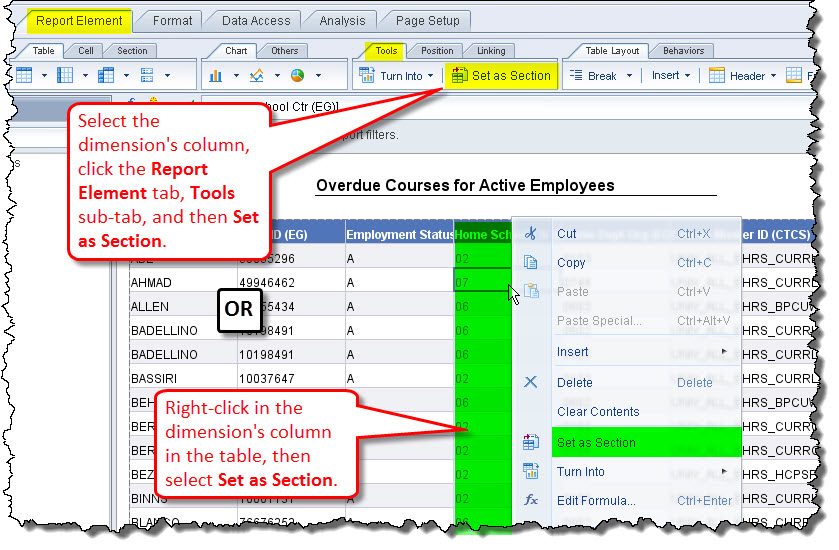
Alternatively, if the dimension already appears in the table and you’d like to move it to appear as a section instead, you can
- right-click on that column and select Set as section deom the drop-down menu,
- select the dimension's column, click the Report Element tab, Tools sub-tab, and then Set as Section.
OR